How to Build a Home PC Setup with Raspberry Pi 500
Step 1: Gather Required Components
To build a basic home PC setup using the Raspberry Pi 500, start by purchasing the necessary hardware. The Raspberry Pi 500 is an all-in-one keyboard computer with integrated CPU, RAM, and other core components. Here's what you'll need:
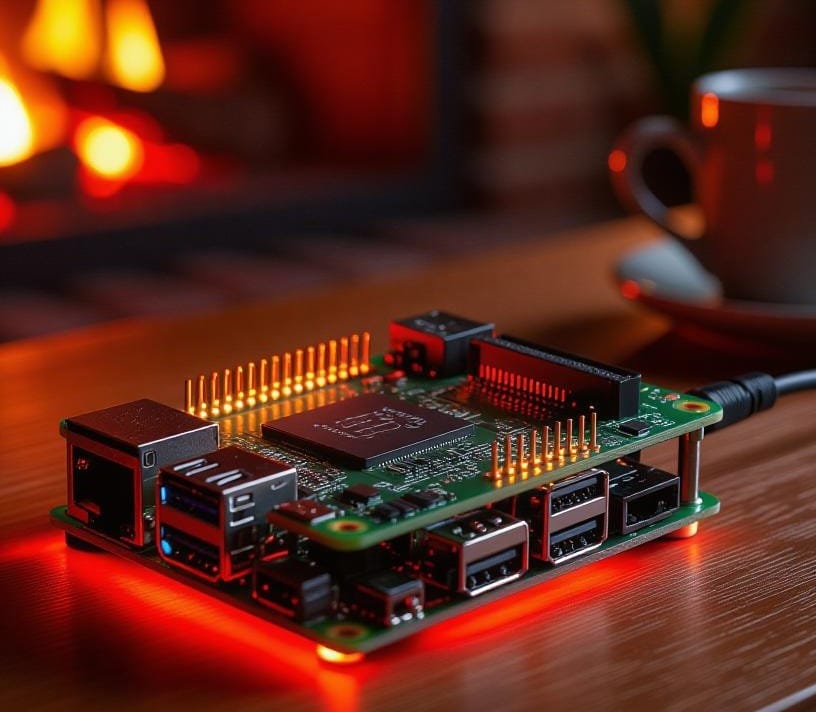
- Raspberry Pi 500 unit: Comes with a 2.4GHz quad-core Arm Cortex-A76 CPU, 8GB LPDDR4X RAM, built-in Wi-Fi/Bluetooth, Gigabit Ethernet, two micro-HDMI ports, USB ports (2x USB 3.0 and 1x USB 2.0), and a 32GB microSD card pre-loaded with Raspberry Pi OS. For upgrades like mechanical keys with RGB lighting and NVMe SSD slot, opt for the Raspberry Pi 500+ model.
- Power supply: A 27W USB-C power supply (5V/5A) for stable performance.
- Display/monitor: Any HDMI-compatible monitor or TV. For a dedicated setup, consider a 15.6-inch monitor powered via the Pi 500's USB ports.
- Cables: Micro-HDMI to HDMI cable (one for single monitor; two for dual). An Ethernet cable for wired networking if preferred.
- Mouse: A USB or Bluetooth mouse. The Raspberry Pi 500 Desktop Kit ($120) includes a mouse, power supply, HDMI cable, and beginner's guide.
- Optional extras: External storage (USB drive or NVMe SSD for 500+), webcam, speakers/headphones (via 3.5mm jack or Bluetooth), or GPIO accessories for projects like home automation. Purchase from retailers like the Raspberry Pi store or Amazon.
Step 2: Install the Operating System
The Raspberry Pi 500 requires an OS on a microSD card or other bootable media. Use Raspberry Pi Imager for installation:
- Download Raspberry Pi Imager on another computer (Windows, macOS, or Linux).
- Insert a microSD card (8GB minimum, 32GB+ recommended) into your computer.
- Open Imager, select your Raspberry Pi model (Raspberry Pi 500 or 500+).
- Choose Raspberry Pi OS (based on Debian Linux) for a desktop experience.
- Select the microSD card as storage.
- Click "Next," then "Edit Settings" to preconfigure: Set username/password, Wi-Fi details, time zone, keyboard layout, and enable SSH if desired.
- Confirm and write the image (takes 10-20 minutes; erases the card). For the Pi 500+, you can boot from an NVMe SSD if installed. Alternatively, use Network Install by powering on without media while holding SHIFT (requires Ethernet).
Step 3: Assemble the Hardware
Assembly is simple since the Pi 500 is built into the keyboard:
- Place the Pi 500 keyboard on a flat surface.
- Insert the microSD card (with OS) into the slot on the back or side.
- Connect the monitor using a micro-HDMI to HDMI cable to the HDMI0 port (primary).
- Attach the mouse to a USB port.
- Connect an Ethernet cable for wired internet if needed.
- Plug headphones or speakers into the 3.5mm jack for audio.
- Connect the USB-C power supply to the "PWR IN" port—do not power on yet. Add extras like external drives to USB ports now if desired.
Step 4: Power On and Initial Configuration
- Turn on the monitor and select the correct HDMI input.
- Plug in the power supply to boot the Pi 500. The status LED lights up, and the boot screen appears.
- If preconfigured in Imager, it boots to the desktop. Otherwise, the setup wizard starts:
- Set locale (country, language, time zone, keyboard layout).
- Create a user account (avoid default "pi/raspberry" for security).
- Connect to Wi-Fi if not pre-set.
- Choose a browser (Chromium or Firefox).
- Enable Raspberry Pi Connect for remote desktop if desired.
- Update software (takes 10-30 minutes; restart when prompted).
- On the desktop, use the Raspberry Pi Configuration tool (via menu or sudo raspi-config) to adjust settings like display resolution or enable VNC/SSH.
Step 5: Customize for Home PC Use
- Install software: Run sudo apt update && sudo apt upgrade in the terminal to update, then install apps like LibreOffice for productivity, VLC for media, or Chromium for browsing.
- Set up peripherals: Pair Bluetooth devices via the Bluetooth menu. For dual monitors, connect the second to HDMI1 and configure in Display settings.
- Optimize performance: The built-in heatsink manages cooling, but ensure airflow for heavy tasks. On the 500+, customize keyboard RGB via QMK firmware if available.
- Add home features: Install Kodi for a media center, RetroPie for gaming emulation, or Home Assistant for smart home control. Connect a printer or external HDD for storage.
- Troubleshoot: If issues occur (e.g., no boot), check connections or re-image the SD card.
This setup creates a low-power home PC (5-7W) for browsing, coding, or light office work. Expand with GPIO projects for added functionality!